Last updated 09/15/2025
You can add the Bread & Butter Opt-in tool to any page on your site. The Opt-in window appears after a specified number of seconds. It prompts users to subscribe through a trusted account or using an email address.
Bread and Butter remembers who has signed up, and won’t prompt subscribers again. The Opt-in tool will be hidden for 24 hours for users who dismiss it without authenticating.
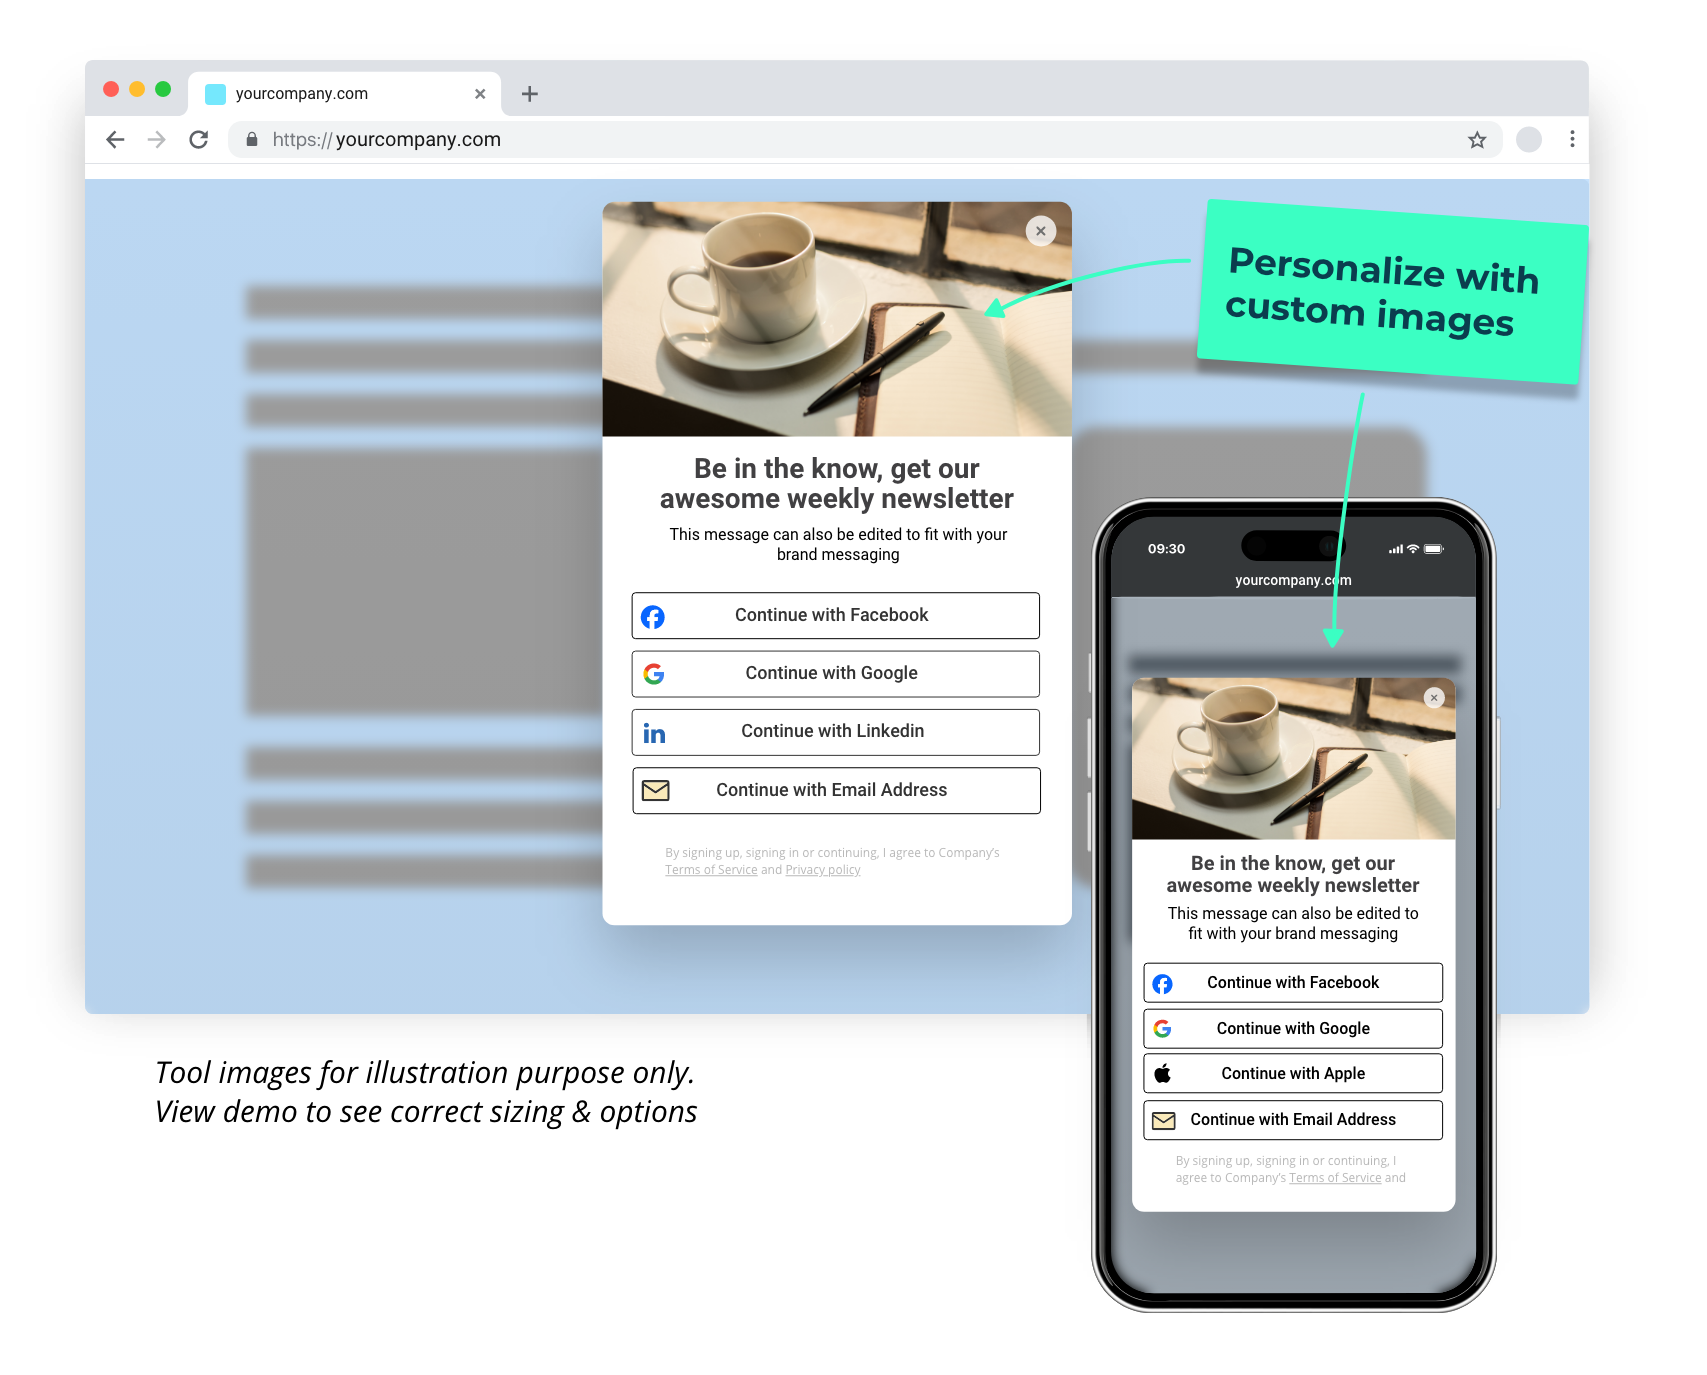
Step 1. In the left menu in WordPress admin, click on Bread & Butter.
Step 2. Click on the Content gate preview in the left menu, then scroll down to the setup section.
Specify the webpages or post categories that you want to limit to signed-in users. You can choose one or many pages. If you start typing, it will auto-complete.
Step 3. Style your content gate preview by setting custom content to match your use case. If you don’t specify custom content, the suggested content displayed in the fields will be used.
The Header is the content that appears in the header above the sign-in options.
The Sub Header is the content that appears below the header.
The Bottom Paragraph is the content that will display below the sign in options.
The Expanded Bottom Paragraph is the content you want to display when the user clicks to expand. This lets you add more text for users who need more information.
The expand label is the “more” or “expand” text, and can be anything you want.
We recommend starting with “more >>” to see how it looks.
Step 4. Decide when you want the content preview to display.
Enable Override Registration Destination URL if you’ve set a Registration Destination URL in your app settings, but don’t want it to apply to content gate secure pages.
If you do not have a Registration Destination URL set in your app settings, you can ignore this setting.
Last Step. Click Save to save and apply your changes.
The specified pages are now gated for signed in users only.
You can add the Opt-in tool to any page on your site, and configure the content you want it to display, including background image.
In the left menu in WordPress Admin, click on Bread & Butter.
In the left menu, expand More Tools and select Opt in.
Then select the webpages or post categories that you want the Opt-in tool to appear. You can choose one or many pages.
Choose the Opt-in type. This setting will pre-populate suggested text, and a custom event name for you. You can also edit the text any time you want.
Set up the messaging that will prompt the user to sign up.
Set up the image header. You can choose the default image included in the WordPress plugin, your own custom image, or no image.
(Optional) Enable Override Registration Destination URL if you've set a Registration Destination URL in your app settings, but want that to not apply to Content Preview pages.
If you do not have a Registration Destination URL set in your app settings, you can ignore this setting.
Set up a Custom User Event that will be triggered in your dashboard whenever a user signs up through the Opt-in tool.
When a user signs up through the Opt-in tool, you can trigger a direct integration with either Mailchimp or Zapier. For example, you can add a user directly to any audience in Mailchimp, or trigger any Zap.
To set up your Mailchimp integration, follow these steps.
To set up your Zapier integration, follow these steps.
You can also skip this step and set up your own custom integration from the Logic page in your Webapp.
Click Save to save and apply your changes.
The through the Opt-in tool will now appear on the page(s) you specified in Step 2.
All Opt-in tool settings can be configured at the page level, allowing you to have different content and behavior for specific pages. Just follow these quick steps:
Don’t use Bread & Butter? Want to learn more about how Bread & Butter solves the four biggest problems facing marketers today? Book a demo and see how Bread & Butter is helping marketers make the most of their first-party data
Add authentication & API event tracking to your website/app with a script tag & configuration