WordPress Creating a User Event via a Block Element
Last updated 01/13/2026
First, create your User Event.
To create a block element, simply open your page and add an element.
Once complete, you can get the element ID by following these steps:
- Click on the Gear icon at the top right.
- Click on the element on the page.
- In the right pane, click Block.
- Then at the bottom, click Advanced

- In the Additional CSS Class(es) field, enter a new class name.
- Publish the page.

Tying the user event to the block
Step 1
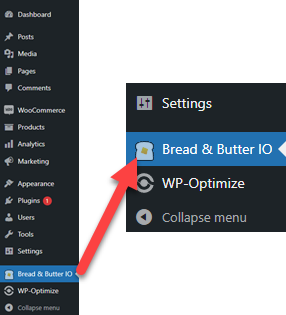
In the left menu in WordPress Admin, click on Bread & Butter.
Step 2
From the Advanced Settings tab, and scroll down to the User Event Setup section.

Step 3
- In the Element Name/ID/Selector field, enter the name that you created when you set up the Additional CSS Class(es) (for the element in the WordPress page, as described in the Before you Start section).
- Since it is a class, add a dot before the name, i.e., .bb-my-button1.

Step 4
- Enter the event code that you created when you set up the user event in your Bread & Butter App, as described in the Creating a User Event section.

Step 5
- Click Save.
Note: If you click Save and the event is not added to the list, make sure your WordPress Plugin is set up correctly with a Bread & Butter App, then try again.
Next Steps
- Add your user event to your User Journey in Bread & Butter.
- (Optional) Hook up your user event to an Integration & Rule in Bread & Butter.