WordPress Conversion Tools Quick Start Guide
Published: March 7th, 2024
To take full advantage of Bread & Butter’s features, you’ll need to enable at least one conversion tool for your site to collect first party data. Find the tool or tools that work best for you, and enable them. Each of the tools can be enabled from the Dashboard:
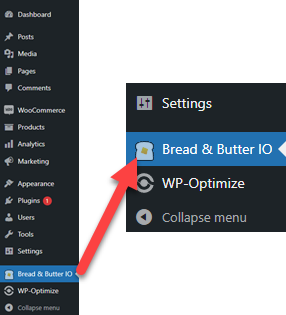
- In the left menu in WordPress Admin, click on Bread & Butter.
- In the left menu, you’ll see our available tools under Conversion Tools and More Tools.
‘Continue with’ Opt in
The ‘Continue with’ Opt in adds a floating sign in dialog to any page on your site. This gives your users an option to sign in at any time, without having to change your page to add a sign in section on the page. Here’s how it looks:
In the left menu, go to ‘Continue with’ Opt in. Then, choose the pages you want it to appear on, and then adjust the positioning if necessary: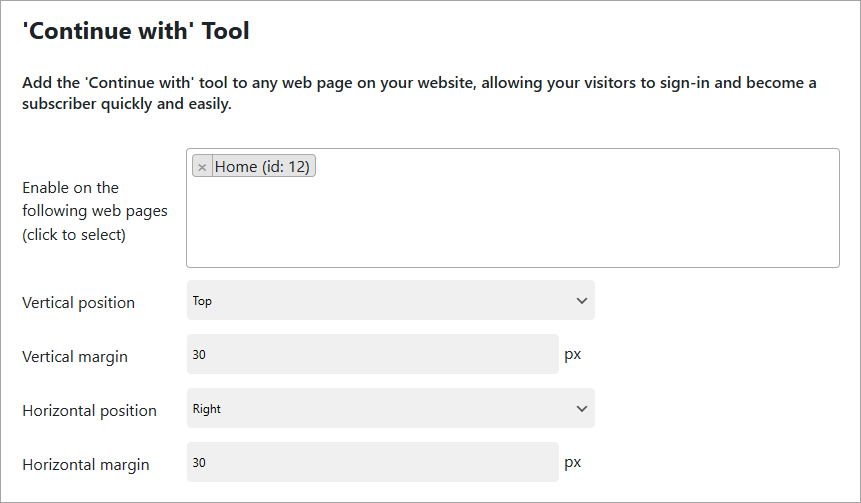
For more information, check out our ‘Continue with’ one click conversions guide.
Subscribe / Newsletter
The Subscribe / Newsletter prompts your visitors to sign up for your newsletter, enter a contest, get a special offer, or sign up for anything else. The content is all configurable, and you can even hook it up to a 3rd party site via our integrations, so users are automatically added to your Mailchimp audience or to a CRM. Here’s how it looks:
In the left menu, expand More Tools and go to Subscribe / Newsletter. Then, choose the pages you want it to appear on, set the message content, add a loading delay, and even customize the banner: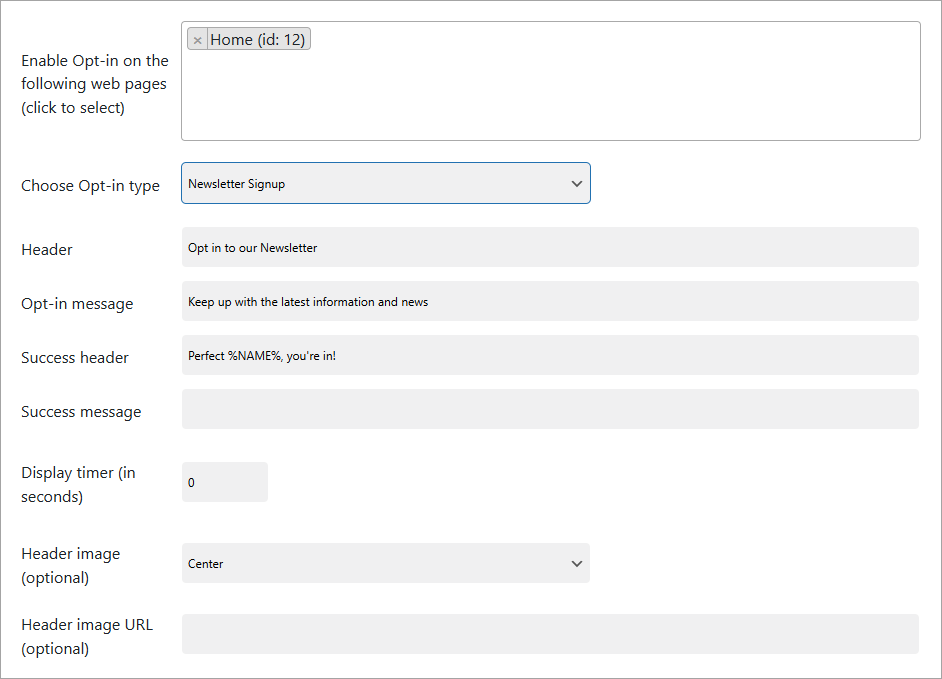
For more information on each option, check out our Subscribe / Newsletter guide. To set up an integration, click on Advanced Settings.
‘Contact us’ tool
The ‘Contact us’ tool adds a small contact widget to all of the pages on your site. This allows users to quickly and easily contact you, but also for you to collect first party data from the user. Here’s how it looks: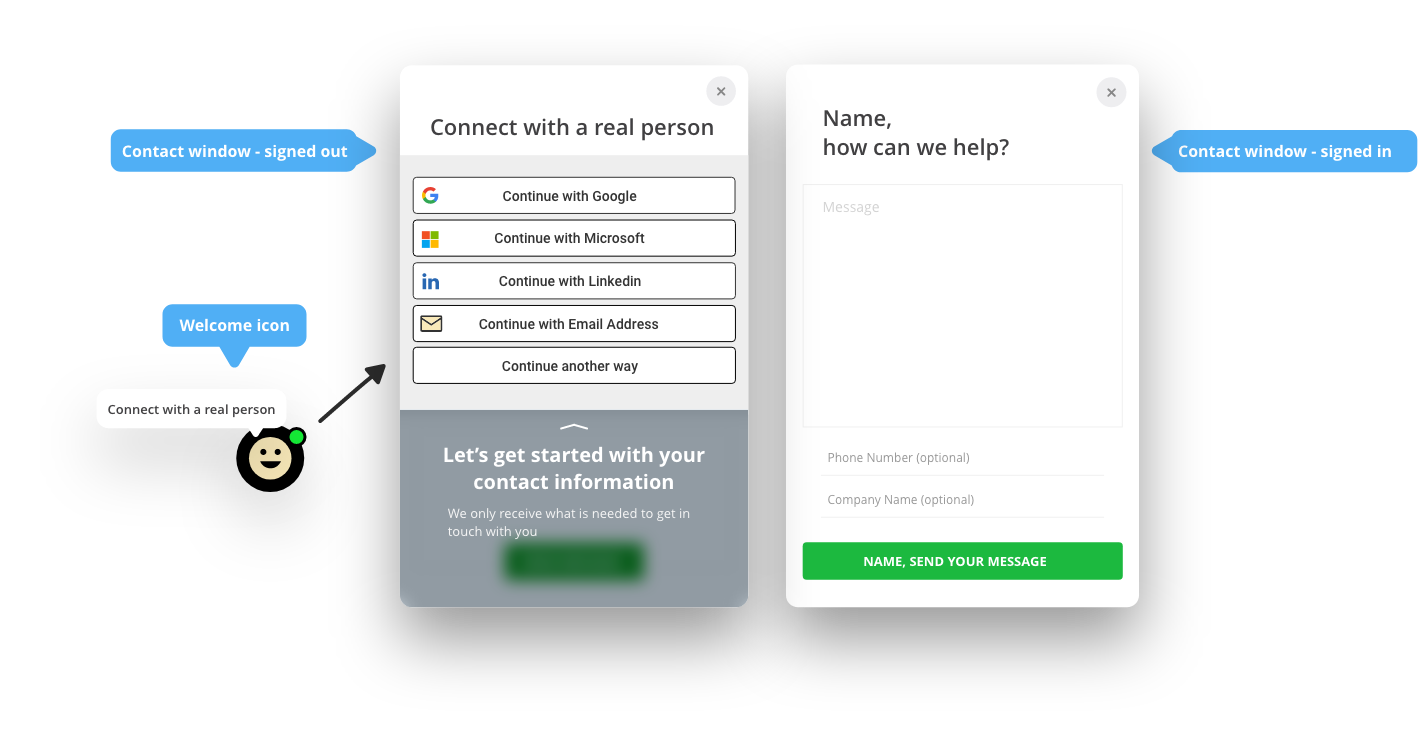
In the left menu, expand More Tools and go to ‘Contact us’ tool. Then, choose what pages you want it to appear on, and then set any custom text or icons that you want.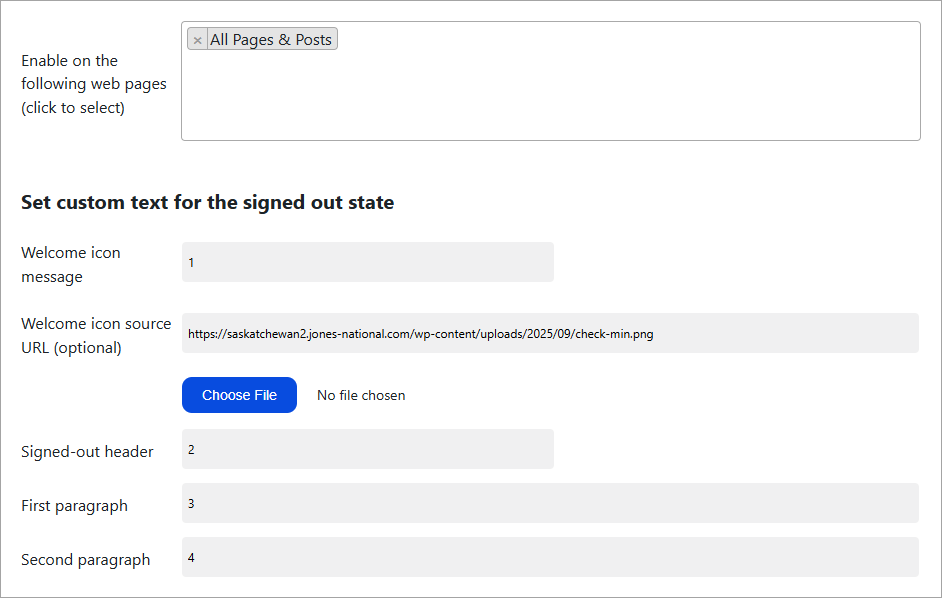
For more information on each option, check out our ‘Contact us’ tool guide.
Content Gate Classic
The Content Gate Classic tool allows you to restrict users from viewing a page without signing in first. Here’s how it looks: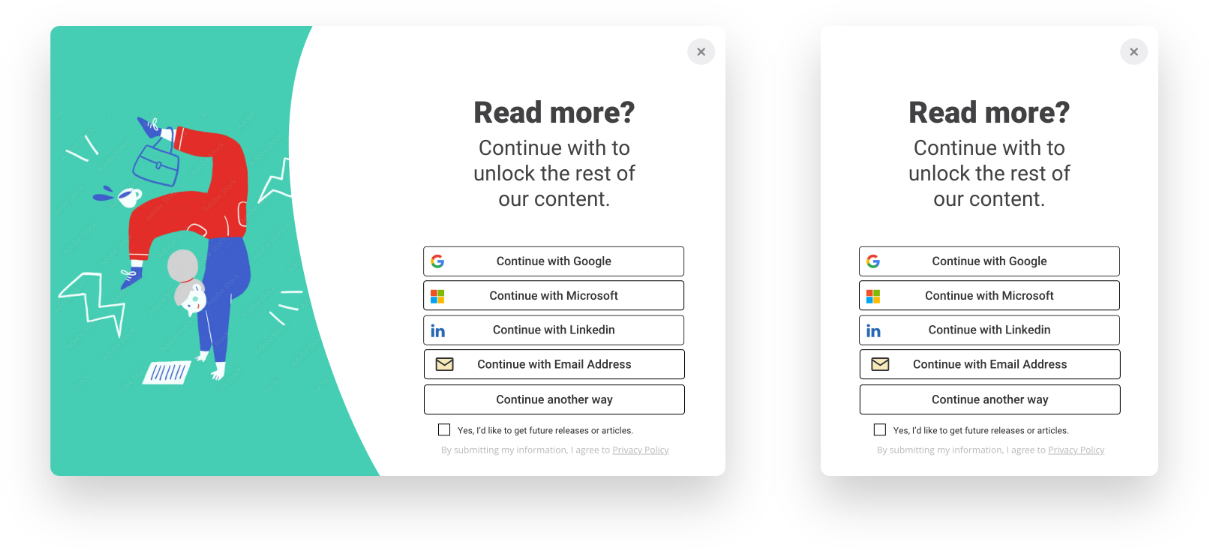
In the left menu, go to Content gate classic, then choose which pages you want to apply it to.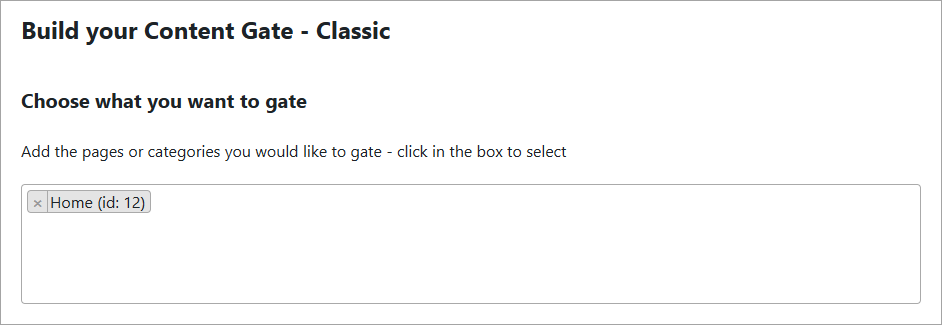
To customize the text or add a custom image header, click on Advanced Settings or check out our content gating guide.