Content Gate Classic
Last updated 01/26/2026
Before adding Content Gate Classic, make sure you have added the initialization script tag.
Bread & Butter’s Content Gate Classic feature allows you to limit access to specific web pages on your website to visitors who have converted. When the user goes to the page, the content is partially hidden by the content gate sign-in pop-up, and the background is greyed out, and scrolling is blocked. It can be configured to appear immediately, after a period of time, or when a user scrolls past a certain percentage of the page.
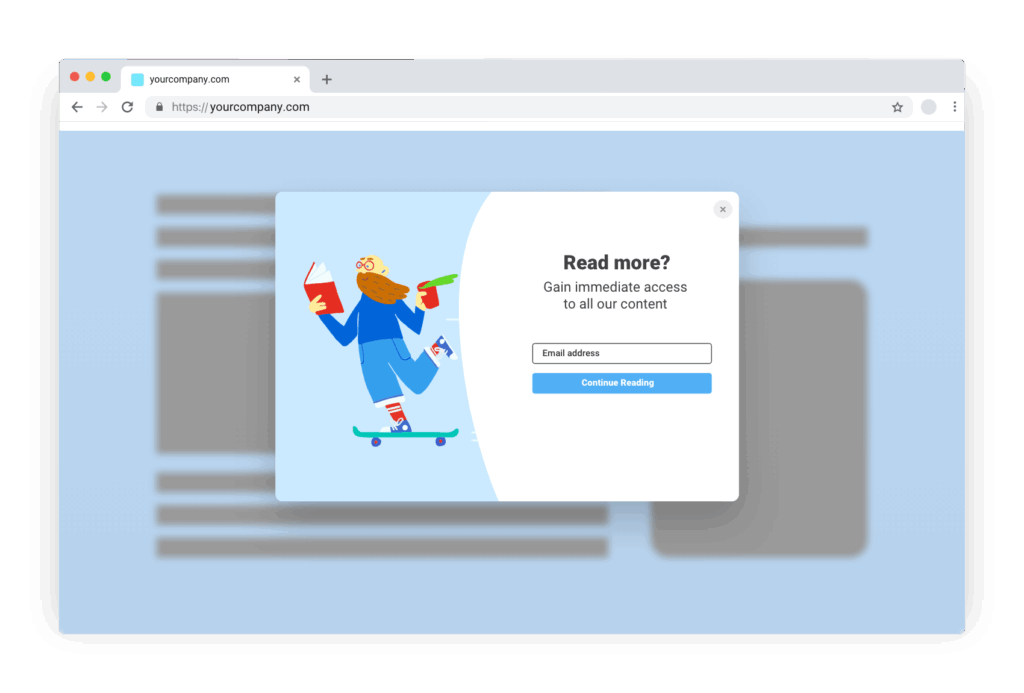
You can also customize the header text to meet your unique business needs. Once converted, users can see the page content
You can now add the Content Gate Classic feature to your website by following these steps:
Step 1
On the page you want the Content Gate Classic to appear, add the following JavaScript:
<script>
null == window.breadbutterQueue && (window.breadbutterQueue = []), window.injectBreadButter = function (e) { "undefined" != typeof BreadButter && BreadButter.init ? e() : window.breadbutterQueue.push(e) };
injectBreadButter(function () {
    BreadButter.ui.contentGating({
    locale: {
        CONTENT_GATING: {
            TITLE: 'Your header goes here',
            SUBTITLE: 'Your sub header goes here'
        }
    },
    scroll_limit: 0,
    time_limit: 0,
    image_default: '2',
    background_color: '#FFFFFF',
    font_color: '#000000',
    button_color: '#50aff5',
    button_font_color: '#FFFFFF',
    success_header: 'Your success header goes here',
    success_text: 'Your success text goes here',
    disable_success_message: false
});
});
</script>
Note: If you have other Bread & Butter feature snippets, just add this snippet below them.
Step 2
Set the TITLE text & SUBTITLE text. This is the content that appears at the top of the Content Gate Classic tool.
Step 3
Set any time or scroll delays.
- For scroll_limit, choose a value between 0 and 1. Setting it to 0 will load immediately, 0.5 after half of the page is scrolled through, etc. Make sure to set the time value very high if you want the content gate to be triggered primarily through the scrolling action of the user.
- For time_limit, choose the number of seconds after page load until content gating is displayed.
Step 4
For the left side image, you can choose from a set of 6 default images, your own custom image, or no image.
- For image_default choose 1 through 6 to select one of our default images.
- If you want a custom image, replace this with
image_source: "URL_HERE",and enter your own image URL. Recommended size: 450 x 600 pixels. - If you don't want any image, replace this with
image_type: "none",.
Step 5
For colors, you can set the backgound color, text color, button color, and button text color for the sign in options section. You only need to adjust these if the default colors don't mesh with your existing site color palette. Enter the hex code for the colors you want.
Step 6
You can also change the content in the success message that appears after the user signs in by changing the success_header and the success_text. Remove these if you're happy with the default content.
If you don't want success content at all, set disable_success_text to true.
Step 7
You should now see the content gating tool appear on the specified page, after the specified time period.