WordPress Plugin Analytics Install Guide
Last updated 01/13/2026
Step 1
Log in to your WordPress admin panel as an Administrator.
Step 2
- Go to Plugins on the left side menu, then click the Add New Plugin button at the top.
- Search plugins for "bread & butter".
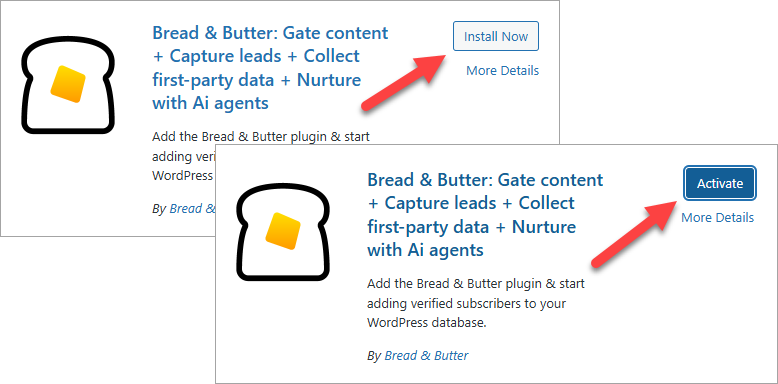
- Click Install Now for the Bread & Butter plugin.
- Once installed, click Activate and you will be taken directly to the setup tab.
Step 3
- Go to https://app.breadbutter.io/sign-in/ and Sign In (or Sign Up to make a new account).
- Create a new App for your WordPress site, if you have not already done so.
- During the App creation process, when asked for your website domain, enter your WordPress site domain.
- After your app is created, you'll see that your website has been identified as WordPress. Go to Settings in the left menu, then copy the App ID for Step 5 below.

Step 4
- Return to WordPress.
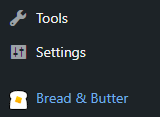
- In the left menu in WordPress, click on Bread & Butter.
Step 5
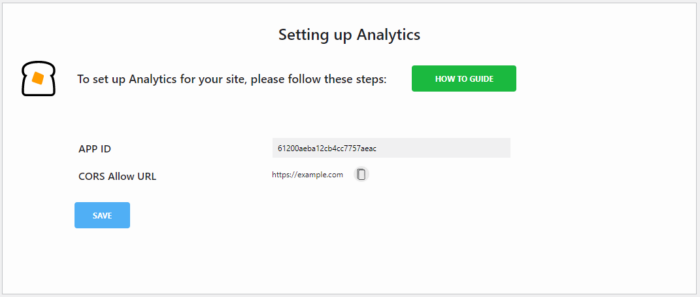
- Go to the Advanced Settings page in the left menu, then scroll down to Setting up Analytics and enter the App ID from Step 3.
- Click Save.
Step 6
Congratulations! Your WordPress website is now set up with your new Bread & Butter App.
You can click the View Dashboard button in the top menu to see visitor activity appear as they visit.
Note: If you don't see any activity in the Bread & Butter Dashboard, try going to your Website's homepage. You should then see your visit appear in your Bread & Butter & Butter Dashboard after you refresh the page.
If you do not see your user's page visits on the Dashboard, please don't hesitate to contact us at support@breadbutter.io.